
HVAC Service: Save up to 15% in 1-minute
HVAC (heating, ventilation, and air conditioning) systems require service and maintenance. Just like changing the oil in your car, you have to regularly service your HVAC systems to keep them operating efficiently. For example, replacing a dirty air filter is cheap, takes less than a minute, and is estimated to save between 5 and 15% on energy bills.
The average U.S. household spends $2,200 a year on energy bills with more than half spent on space heating and cooling. So if you want to reduce your energy bills, you have to look seriously at the heating and cooling systems that account for the lion’s share of your energy expenses.
In the article this week, we’ll cover no and low cost things you can do to take care of your heating and cooling systems. We’ll also call out a few priorities for HVAC service that are best left to professionals.
ARTICLE AT A GLANCE
Sign up for regular HVAC service
If your heating or cooling system goes out, you’ll likely pay a premium to get priority service from an HVAC contractor. How do you avoid this? Get regular HVAC service.
Starting at $15.21 a month, the GreenSavers Home Performance Plan makes HVAC service easy and automatic. Our technicians come out twice a year for a 23-Point HVAC Tune Up and Maintenance Check. If repairs are needed, you jump to the front of the line and save 10% on parts and labor.
There’s a lot of maintenance you could do yourself (see below), but some things are better left to a professional. For example, we make sure that air conditioning systems have the proper refrigerant charge, which increases efficiency by 30% relative to systems with a charge that is too high or too low.
Learn more about the benefits, pricing, or just give us a call to get started: 541.330.8767.
Get on the same page
Talk to your partner, family, or housemates about saving energy. If you care about reducing energy bills or doing your part to address climate change, make it part of the conversation. You’ll go way further together.
In the summer, it’s important to talk about leaving doors and windows open. It can make sense to open doors and windows to catch a cool breeze, but it’s wasteful to leave your doors or windows open while also running your cooling system. Learn more about best practices for opening, closing, and covering windows.
In the winter, nobody likes to feel cold. The key is to find common ground about when to increase the temperature on the thermostat. For example, putting on a sweater would make a person feel about 5 degrees warmer. Do the people in your home first reach for a sweater or the thermostat? Learn more about best practices for your thermostat.
Set your thermostat with intention
We won’t go into detail here, since we’ve already written about best practices for saving energy with your thermostat. Here’s an overview of what we recommend:
In the winter, set the temperature lower at night
Let the temperature rise when you're away during the summer
Don't overshoot your desired temperature
Consider a smart thermostat (unless you have a heat pump)
Check out the full article for details - Save 10% a year with your thermostat.
Change your air filters regularly
Replacing a dirty air filter is cheap, takes less than a minute, and is estimated to save 5 to 15%. This is your lowest hanging fruit. Grab it!
What kind of air filter should I buy?
Make sure you get the right size. If you’re not sure what size to get, follow these steps:
Turn off your central air system.
Find your current air filter, which is usually located in the return air duct or blower compartment before the return air reaches the air handler.
Take a look at the air filter dimensions, which should be printed right on the side of the filter.
If the dimensions are faded, you can get the dimensions you need by laying the air filter flat and measuring the length x width x depth (e.g. 20” x 20” x 4”).
In addition to size, you’ll also want to consider the effectiveness of the air filter, which is measured by the MERV (Minimum Efficiency Reporting Value). The higher the MERV, the more effective the filter.
As a general rule, we at GreenSavers install pleated 4-inch filters rated at MERV 11. If it’s wildfire season or if you have sensitive people in your home, consider upgrading to a carbon activated MERV 13 filter. The most serious air filter that we install is AprilAire 5000, which removes viruses and ultra-fine particles as small as 0.1 micron (120 times smaller than a human hair).
How often should air filters be changed?
The answer depends on the depth of your air filter (e.g. 4” vs. 1”) and how much you’re using it. In general, a 4” filter should last 3 to 6 months, while a 1” filter will likely need to be changed monthly.
If you’re not sure where to start, change your air filter then check it monthly. When it looks dirty, it’s time to swap it out. Take a second right now to set a recurring calendar reminder.
If you have a family of five with two dogs and a cat, you should expect to change your air filter more often than the retired couple that likes to travel. Also consider the season. When it’s the peak of summer or winter, you’ll use your central air system more than during the shoulder seasons.
Where can I buy air filters?
When you know your dimensions and MERV preference, you can place your order online. A quick search on Google often returns the best deals. It’s best to order a few at a time to get the best price and have a few extras when you need them.
Check ducts for air leaks
If you have a central air system, check your ducts for leaks, holes, and broken or damaged connections. These issues can cause you to lose as much as 20% of the air moving through your system.
Start by focusing on ducts that run through your attic, crawlspace, unheated basement, or garage.
Check for leaks by turning on your HVAC system fan, then walking the length of your ducts as you feel for leaks.
Use either mastic or metal-backed (foil) tape to seal the seams and connections of the ducts to prevent air from escaping.
If you’re feeling ambitious, you’ll get an added benefit from insulating the ducts after you seal them. This will prevent your ducts (and the air they carry) from heating up in the summer or cooling down during the winter months. To be clear - you’ll only get a benefit from insulating ducts that run through the unconditioned areas of your home, like your attic or crawlspace.
To insulate, you’ll need insulation rated at least R-6, sip ties to hold the duct insulation in place, as well as gloves, safety glasses, mask, and a flashlight. You can do this!
Make sure registers are clear
It’s all about air flow. To get the temperature you want at the lowest possible cost, you need to let air move freely through your HVAC system. In practice, this means that you need to keep a buffer of at least 18 inches between your air vents and furniture, curtains, or rugs (for an air vent on the floor).
If you don’t leave enough of a buffer, you’re less likely to get the temperature that you want, and you’ll cause your central air system to work harder - this means high bills and more maintenance. What’s more, you could do lasting damage to your furniture over time.
We get it though. Sometimes leaving an 18 inch buffer just isn’t practical. If you have to leave the couch where it is, then using a magnetic air deflector would be better than nothing.
On a related topic, some think that they’ll save money by closing vents to rooms that are used less often. As a general rule, this will not save you money but will cause all kinds of issues related to increased air pressure in your duct system.
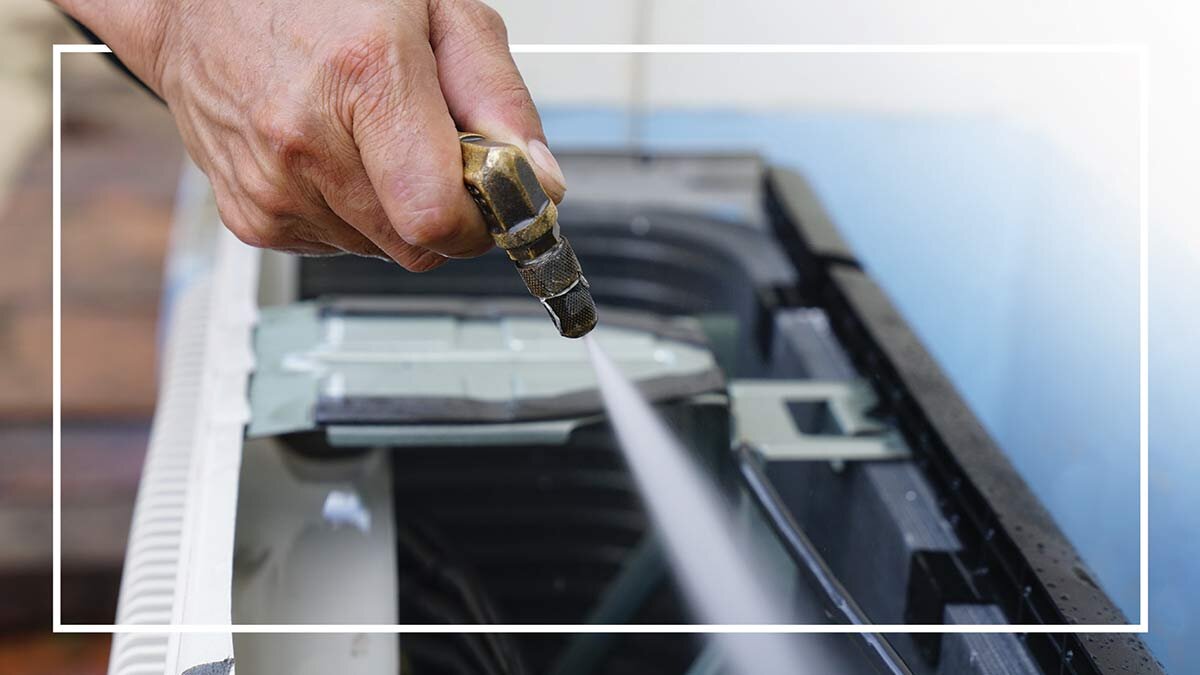
Keep your outdoor unit clean
Again, air flow is key. If you have an air conditioner or heat pump with an outdoor unit, a little bit of time spent cleaning the outdoor unit will go a long way. Cleaning the outdoor unit requires only a beginner’s level of expertise. Here’s what you’ll need:
4-in-1 screwdriver
Garden hose
Dinner knife
Rubber gloves
Shop vacuum
Electric motor oil
We won’t get into the details here, but for a solid step-by-step guide with pictures, check out this article in the Family Handyman.